

IN SHORT
Building a Commander deck starts with one clear plan. Choose your commander, ensure sufficient mana and card draw, add answers, and test your first version. As a starting point, we use 1 commander, 38 lands, 10 ramp, 10 card draw, 10 targeted answers, 3 board wipes, and 28 cards for your strategy. Together, exactly 100 cards. This distribution is a tool; your commander, mana curve, and playgroup determine how you adjust it.
In my Commander guide, I promised to go deeper into deckbuilding. Here it is. Playing a precon is fun, but choosing which cards work together is what truly makes a deck yours.
This guide focuses on multiplayer Commander with room to build a strategy. Discuss in advance with your group which tempo, budget, and type of endgame you enjoy. Casual does not automatically mean every game takes eight turns. Also, high-power and cEDH are not the same: in the official bracket system, bracket 4 is called Optimized and bracket 5 is cEDH. You can read more about that in our guide to Commander Brackets.
Step 1 — Choose your commander and define your plan
Start with a commander that appeals to you and whose text you understand. Sticking to one or two colors keeps your mana base straightforward for your first deck. You don't have to choose the strongest or most popular commander right away: it is more important that you are excited to execute the associated game plan.
Write that plan down in one sentence. For example: “I create creature tokens, build up a wide board, and win with an empowered attack.” That provides much more direction than “I’m playing good green and white cards.” In the guide on deck archetypes, you will find other playstyles.
Check the building rules first
- Your deck contains exactly 100 cards, including your commander. With one commander, your library starts with 99 cards.
- Normally, you may only use each card name once. Basic lands and cards with an explicit exception are the exceptions to this rule.
- All cards must fit within the color identity of your commander. Also, check for colored mana symbols in rules text, color indicators, color-defining abilities, and both sides of double-faced cards. Reminder text does not count. For a hybrid mana symbol, both colors count.
- Use a card that is legal as a commander according to the rules and check the current Commander ban list. Simply seeing "legendary" on a card is not enough.
- A legal combination with two commanders takes up two of the 100 slots. The template below assumes one commander.
Also, decide how you want to win. Multiple cards that support the same endgame plan give you backup if one is removed. You don't need to put three completely different strategies into one deck to achieve this.
Step 2 — Distribute your 100 cards
With this starting point, you can start collecting cards without getting lost immediately. The numbers below are our practical initial distribution for a first deck, not official rules and not a mandatory recipe for every commander.
| Role | Slots | What should this group do? |
|---|---|---|
| Commander | 1 | Provide direction for your deck. |
| Lands / land options | 38 | Provide land drops and necessary colors. |
| Ramp | 10 | Make extra mana available. |
| Card draw | 10 | Provide new cards and playable options. |
| Targeted answers | 10 | Stop key threats. |
| Board wipes | 3 | Handle an out-of-control board state. |
| Strategy and protection | 28 | Execute your plan, protect, and finish. |
| Total | 100 | Every physical card counts once. |
Card slots and functions are different counts. A creature that provides extra cards can fit into both your creature plan and your draw engine. Give it one primary role for the total count and use multiple tags in your deckbuilder if necessary. This allows you to see the overlap without accidentally building a 108-card deck.
SpellArmory tip: set aside your lands and support cards first. Then, divide the remaining slots among your strategy. With 38 lands and one commander, you have 61 other cards in your library; a deckbuilder that counts the commander will show 62 nonland cards.
Step 3 — Build the foundations
Lands: start around 37–38 and test your land drops
For many first decks, 37–38 is a usable starting point. An expensive deck or a strategy with extra land drops might need more. A low curve and plenty of cheap card selection can support a lower number, but don’t lower it just because you want to add another fun spell.
The probabilities below have been recalculated for seven random cards from a library of 99 cards. No mulligan has been taken, and no extra cards have been drawn.
| Lands in 99 | At least 2 lands | At least 3 lands | 0–1 land |
|---|---|---|---|
| 30 | 68.6% | 35.8% | 31.4% |
| 34 | 76.5% | 45.3% | 23.5% |
| 36 | 79.9% | 50.1% | 20.1% |
| 38 | 82.9% | 54.8% | 17.1% |
Calculation: hypergeometric distribution, without replacement. Only the number of lands counts; colors, entering tapped, and the rest of your hand were not factored in.
The last column is intentionally labeled “0–1 land” and not “unplayable.” A one-land hand with cheap mana and draw can sometimes work; a hand with four lands in the wrong colors can be difficult. Use the numbers to understand the risk of running few lands, not as an automatic keep rule.
In multiplayer Commander, your first mulligan is free. For subsequent mulligans, you draw seven again and, if you keep the hand, you put one card on the bottom of your library for every mulligan after that first free one. In standard multiplayer Commander, the starting player also draws a card in the first draw step.
MDFCs: one card with a choice
Some modal double-faced cards have a spell on one side and a land on the other. You choose which side to play. That makes them flexible, but you don't get both functions at once: if you played the card as a land, you no longer have that same card as a spell in your hand.
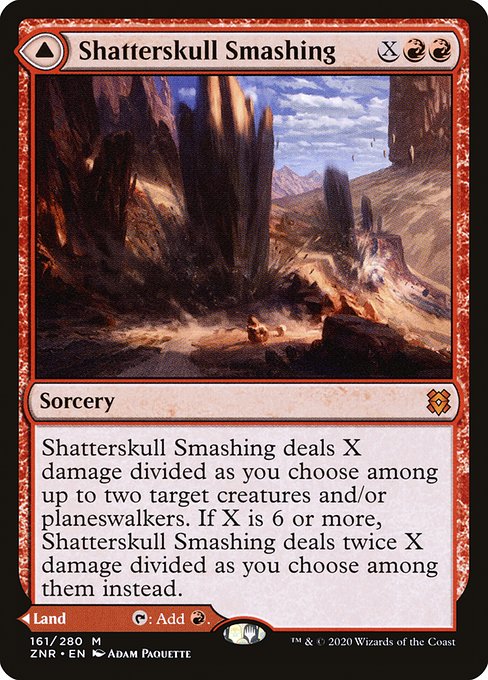
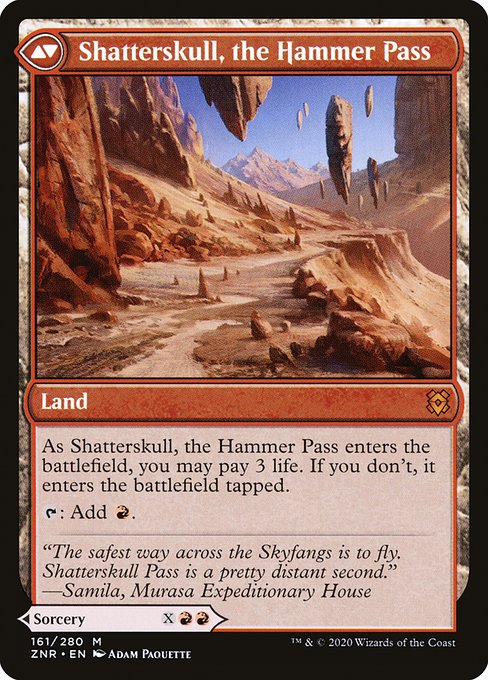
With Shatterskull Smashing, for example, you can choose the land Shatterskull, the Hammer Pass. It enters tapped unless you pay 3 life. You can count such a card as a land option in your deck planning, but keep color, tempo, and how often you actually want to keep the spell in mind. Not every MDFC has a land side. For things like searching your library, the front side determines the characteristics; therefore, a spell with a land back is not simply a land you can find with a land tutor.
Ramp: start with about 10 cards
Ramp helps you use more mana than your regular land drop per turn provides. Preferably, choose a significant portion that you can play early. A two-mana mana rock can produce four mana on turn three with three land drops, provided it is usable then and makes the necessary colors.
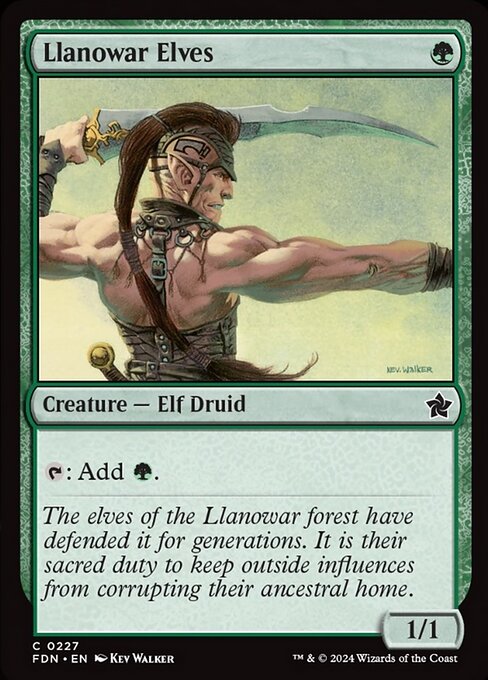
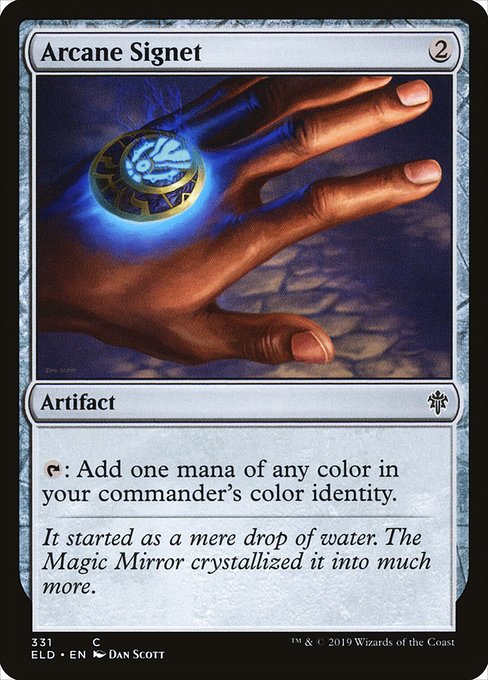
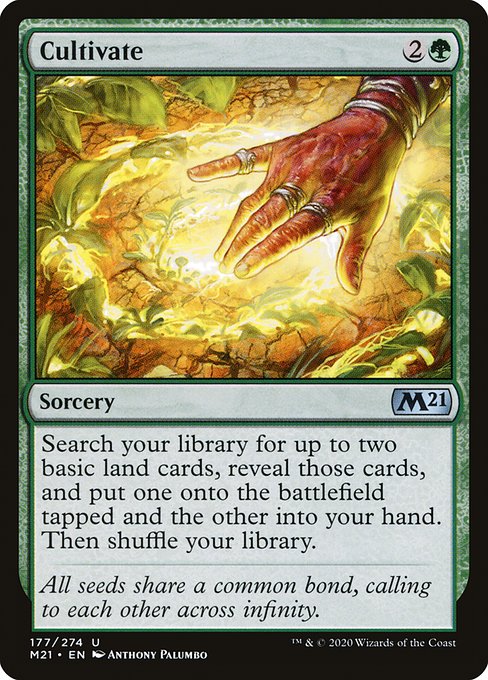
Llanowar Elves is cheap, but as a creature, it is normally affected by summoning sickness. Arcane Signet can produce mana as soon as it hits the battlefield. Cultivate searches for two basic lands: one goes to the battlefield tapped, the other to your hand for a future land drop.
A ritual like Dark Ritual gives temporary mana. While it is mana acceleration, it fulfills a different role than a permanent source. For this starting template, we primarily count sources that also help you later. Ramp can still be useful if you miss a land drop; having enough lands primarily makes it easier to play your ramp on time.
| Ramp cards in 99 | Seen in 7 cards | Seen in 9 cards |
|---|---|---|
| 10 | 53.7% | 63.3% |
| 12 | 60.7% | 70.4% |
Probability of seeing at least one card labeled ramp, not necessarily being able to play it. Seven cards is the opening hand; nine cards is the opening hand plus two normal draw steps in multiplayer, without mulligan or extra draw.
Card draw: combine repetition with immediate replenishment
Start with about 10 cards that replenish your hand or playable options. Many decks aim for 12; a commander who reliably generates cards can take on part of that task. Do ensure your deck can keep playing if that commander is removed.
A cantrip that only replaces itself is primarily card selection, not net card advantage. Returning cards from your graveyard and being able to play cards from exile can provide extra options. Self-mill only helps if your deck can do something with the cards in your graveyard.
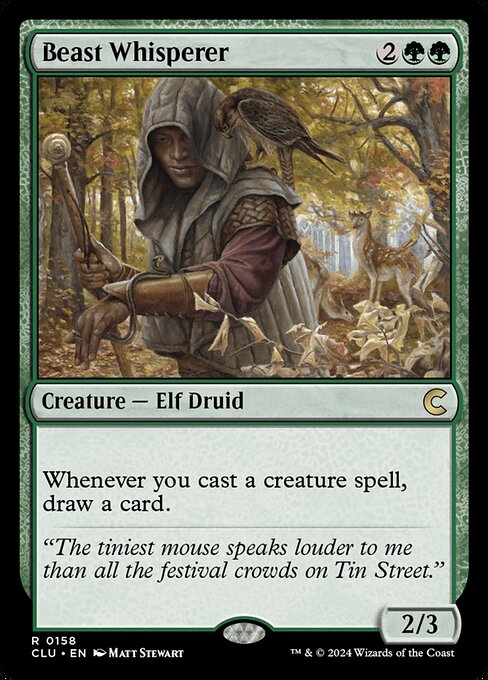
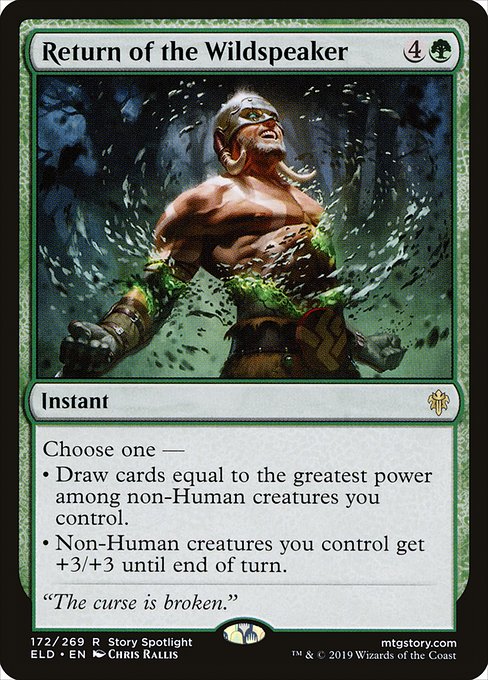
Beast Whisperer rewards you for casting creature spells. Creating tokens doesn't trigger him, so he fits better with actual creature cards than with a deck that creates tokens primarily with instants and sorceries. Return of the Wildspeaker can draw cards all at once based on your largest non-Human creature, OR empower your non-Human creatures. Here, too, you choose one mode.
Repeatable draw is attractive in long games but is not automatically better than “draw three cards” at the right moment. Combine a few engines with direct replenishment, so you can rebuild after a board wipe. With cards like Sylvan Library, you must also read the conditions: keeping the extra cards can cost life.
Targeted answers: about 10, with different goals
You want to be able to do something against a dangerous commander, an annoying enchantment, or a decisive spell. Therefore, distribute your answers across creatures, artifacts, enchantments, and, if necessary, graveyards. Counterspells, bounce, and exile solve different problems; playing only ten creature-removal spells leaves gaps.
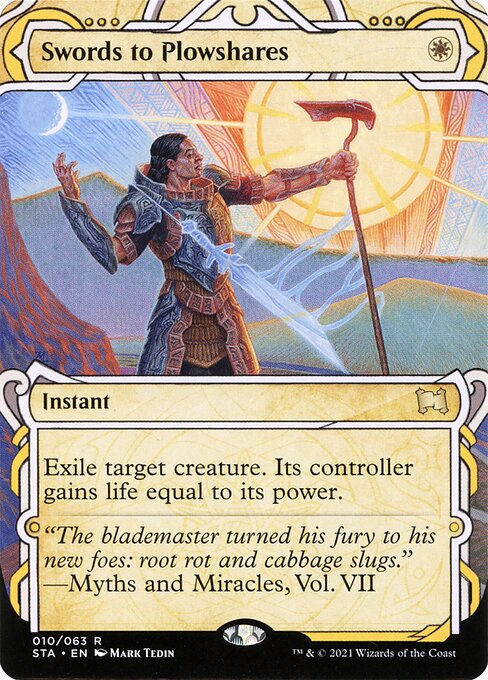
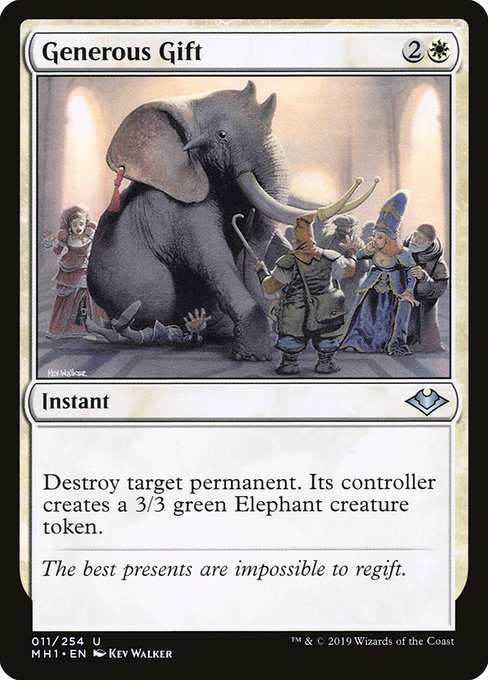
Swords to Plowshares exiles a creature and gives the controller life. Generous Gift can destroy any type of permanent but gives the controller a 3/3 Elephant. A broad answer sometimes has such a trade-off. Bounce usually removes a permanent temporarily; the owner can play it again later.
Ensure that multiple answers operate at instant speed so you can intervene outside your own turn. When you can do that, you can read in the explanation about the stack and priority. Don't hold onto everything indefinitely, but don't automatically use your removal on the first creature that appears, either.
Board wipes: start with 3 and look at your own board
A board wipe clears many things at once. Wrath of God, for example, destroys all creatures and prevents regeneration; indestructible creatures normally survive that. Other wipes exile, give negative stats, or return cards to the hand. So, read what kind of problem you are solving with it.
Three is a starting point. A controlling deck might want more resets; a creature deck might choose fewer or effects that spare their own board. An aristocrats deck sometimes benefits from deaths, but that doesn't mean five to seven wipes are automatically good. You also need creatures to rebuild your engine.
Keep protection and disruption separate in your mind. Teferi’s Protection protects you and your permanents, but it does not remove the threat. Graveyard hate like Bojuka Bog handles a different zone. Thalia, Heretic Cathar specifically slows down creatures and nonbasic lands of opponents, not all their permanents.
Step 4 — Choose cards that support the same plan
With the starting distribution, 28 slots remain for your strategy and protection. Your ramp, draw, and removal can also contribute to that plan. Look for exactly that overlap, as long as the cards continue to perform their support duties reliably.
The cards that make your strategy work: token creators, sacrifice outlets, or ways to get cards into your graveyard.
Cards that convert your built-up board into damage, card advantage, or a decisive attack.
Cards that improve a working plan or help your key pieces survive.
Example: from tokens to an attack
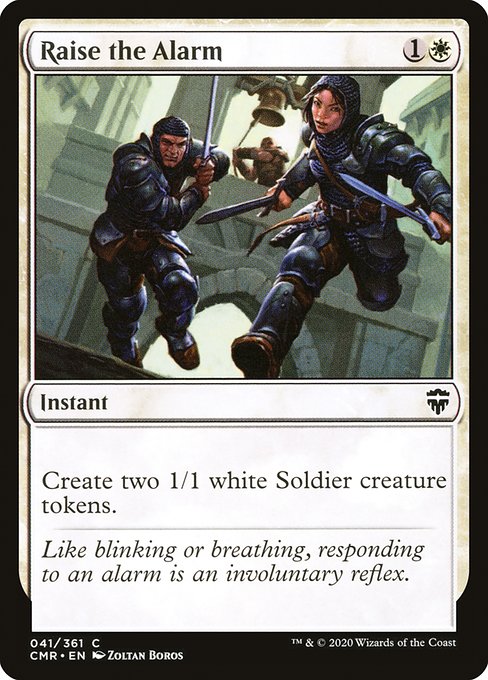
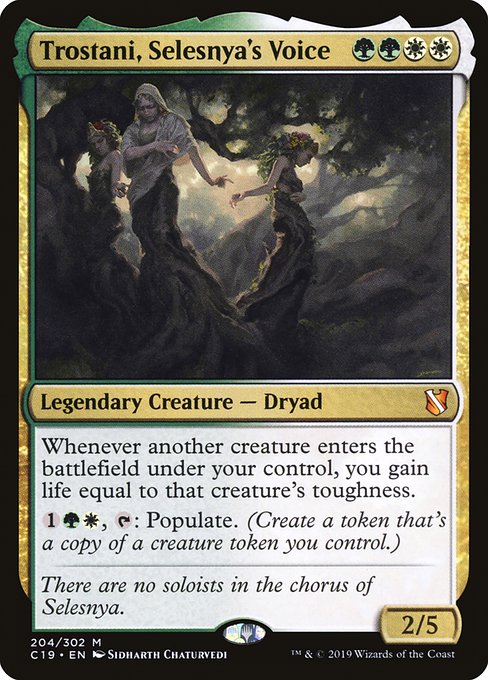
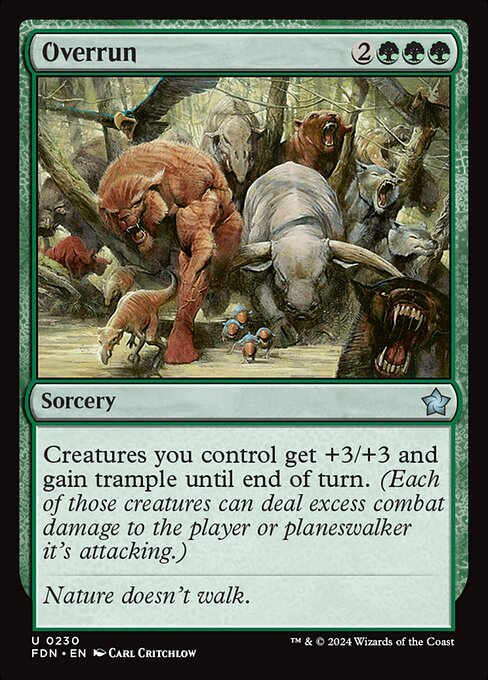
Raise the Alarm creates two creature tokens. Trostani, Selesnya’s Voice can create a copy of a creature token you already have using populate. Overrun gives your creatures +3/+3 and trample temporarily to turn a wide board into attack power.
This is a simple build example, not a complete decklist or a guarantee of victory. Overrun is much less impressive without creatures. Trostani needs an existing token to populate. That is exactly what you should look for when building: do you have enough cards that get things going, or primarily cards that are only good once you are already ahead?
Tip from SpellArmory: give every card a reason to be included. “Creates tokens,” “helps after a wipe,” and “finishes my attack” are clear reasons. “Is strong in other decks” is not a reason on its own to earn a spot in your list.
Adjust the ratio to your playstyle
| Playstyle | What to pay extra attention to |
|---|---|
| Control | Sufficient answers and ways to draw cards. Also ensure a concrete endgame. |
| Aggro / tokens | Cheap setup, protection, and recovery after a wipe. Only reduce lands if testing shows it's possible. |
| Combo | Consistency, protection, and an alternative if pieces disappear. Discuss the combo and speed with your group in advance. |
| Aristocrats | Balance between creatures to sacrifice, sacrifice outlets, and payoffs. Only running payoffs won't work. |
| Landfall / expensive spells | Enough land drops and mana, plus useful plays before your big cards come online. |
Step 5 — Check your mana curve and colors
The mana curve shows how many spells you have at each mana value. Ensure you have meaningful choices early on. If your first real action usually costs five mana, the rest of your deck and your playgroup need to provide room for that.
You don't need to hit an exact number of one-, two-, or three-drops. Look at your first four turns instead: can you build mana, do something toward your plan, and potentially hold up mana for an answer? An average mana value says less than whether you can actually play your cards on time. X-spells, alternative costs, and your commander can skew that average.
Example of a smooth start
Turn 1: land. Turn 2: second land and Arcane Signet. Turn 3: third land; you now have up to four mana available. You can play a four-mana spell, but also combine a cheaper action with mana for interaction. This example assumes your sources provide the right colors and are usable.
A good mana base is more than just a land count
- Count color sources. A deck with early green ramp needs green mana before that ramp can solve your other colors.
- Pay attention to double symbols. Trostani costs two green and two white mana. Four mana in total is therefore not enough if the distribution is off.
- Limit tempo loss. Many lands that enter tapped can be affordable, but they make early turns slower.
- Be frugal with colorless utility lands. A fun ability helps little if it prevents you from casting your colored spells.
- Check your search cards. Cultivate only finds basic lands; other searchers have different limitations.
Set a budget in advance. Opt for a working plan and reliable mana first. You don't have to automatically copy expensive staples from an online list. Capture your concept in Moxfield or Archidekt, for example; use Scryfall to compare card texts and alternatives.
Step 6 — Testing, goldfishing, and tweaking
Goldfishing means playing through the deck without opponents. This lets you test the sequence of your actions, land drops, and colors. It doesn't tell you yet if you can withstand removal or how your deck performs at a real table.
- Test ten opening hands, for example. Note how many you would keep and why. That's a first impression, not conclusive statistical evidence.
- Play out a number of starts for four to six turns. Note missed land drops, missing colors, and expensive cards that remain unplayed.
- Test without your commander as well. Can you still set up or draw cards if they are removed twice?
- Play real games. Look at recovery, interaction, and whether you can actually close out your game.
- Change a small group of cards at a time. This way, you better see what a modification achieves.
What if your deck isn't running well?
| What you notice | What to check |
|---|---|
| Missing land drops | Land count, keep decisions, and ways to find lands. Ramp doesn't replace your mana base one-for-one. |
| Mana, but wrong colors | Color sources and colored symbols in your early spells. |
| Hand empty quickly | Draw that fits your plan, including direct replenishment after a reset. |
| Only expensive cards left | Mana curve and the number of cards that only do something late. |
| No answer to opponents | Reach, timing, and costs of your interaction; also graveyards and noncreature permanents. |
| Setup, but no win | Finishers, ways to get through blockers, and a backup plan if a payoff disappears. |
| Stuck after a wipe | Recovery, protection, and whether you are committing too many cards to the board at once. |
The most important thing remains that you and others have fun in the game. Align expectations using the unwritten rules of the table. A deck doesn't have to be fully optimized to be enjoyable to play.
Frequently Asked Questions
How many creatures should my Commander deck have?
That depends on your plan. A creature deck needs many, a spellslinger deck may need few. Furthermore, token creators aren't always creature cards. Therefore, count functions first and then see if you have enough creature spells or creatures on the board for the cards that depend on them.
Can my commander count as ramp or card advantage?
Yes, for your deck's functions. For card slots, it counts once as the commander. See how early and reliably it fulfills that function and keep alternatives on hand for removal and increasing commander tax.
Should I always play Sol Ring and other staples?
No. A popular card can be strong, but your plan, colors, and table agreements remain leading. Also check if a card is on the current Game Changers list when playing with brackets; Commander-legal doesn't automatically mean it fits every bracket.
Can I start with a precon?
Certainly. A precon gives you a complete foundation to learn which cards you like. Check out our Commander precon buying guide. The same checks for mana, draw, interaction, and game plan help with upgrading afterward.
Watch the deckbuilding template from The Command Zone
In this video, The Command Zone shows how to build a Commander deck using categories. It is a useful additional approach. The numbers in this guide are our own practical starting distribution; there is no mandatory universal Commander template.
Tip from SpellArmory: you are going to be shuffling a self-built deck often. Good sleeves help protect your cards and make shuffling more pleasant. For double-sided cards, use opaque sleeves or official substitute cards so you cannot recognize them from the back. View card sleeves.
Rather start with a complete deck?
With a precon, you can play immediately and discover what you want to change at your own pace.
Want to spar about a commander or your first list? Feel free to send me a message. Commander is my favorite format, so I'm happy to think along.
Sources and accountability
The rules have been checked against the official Comprehensive Rules, including 103.5 (mulligans), 103.8 (first draw step), 903 (Commander), and 712 (double-sided cards). For MDFCs, Wizards’ explanation from Zendikar Rising was also used. See also Wizards’ Commander page with brackets and Game Changers.
Card texts and the used images were checked via Scryfall; every card image links to its corresponding printing. Card images © Wizards of the Coast, with artist credits on the cards. The probability calculations are my own for a 99-card library. The recommended counts are deckbuilding advice, not game rules.

Written by Omèr Cremers
Owner of SpellArmory, social worker, and full-time father. Avid MTG player and collector from Maastricht — Commander is my favorite format. Questions about which product suits you? Feel free to send me a message.